
Fresh Look of azzamsa.com 2020
Fresh Look of azzamsa.com 2020. History and features highlight that may inspire you.
Table of contents
Bit of History
I started choosing Octopress for my first static blog. It runs well from 2016-2018. It was my first semester, I still don't know how to program. Luckily I've started using GNU/Linux for three years. So I am not afraid of terminals.
I don't have any trouble using it at all, except learning how the git branch work. The Octropress script switches my branch without my consent. But other than that, I can manage the blog post easily.
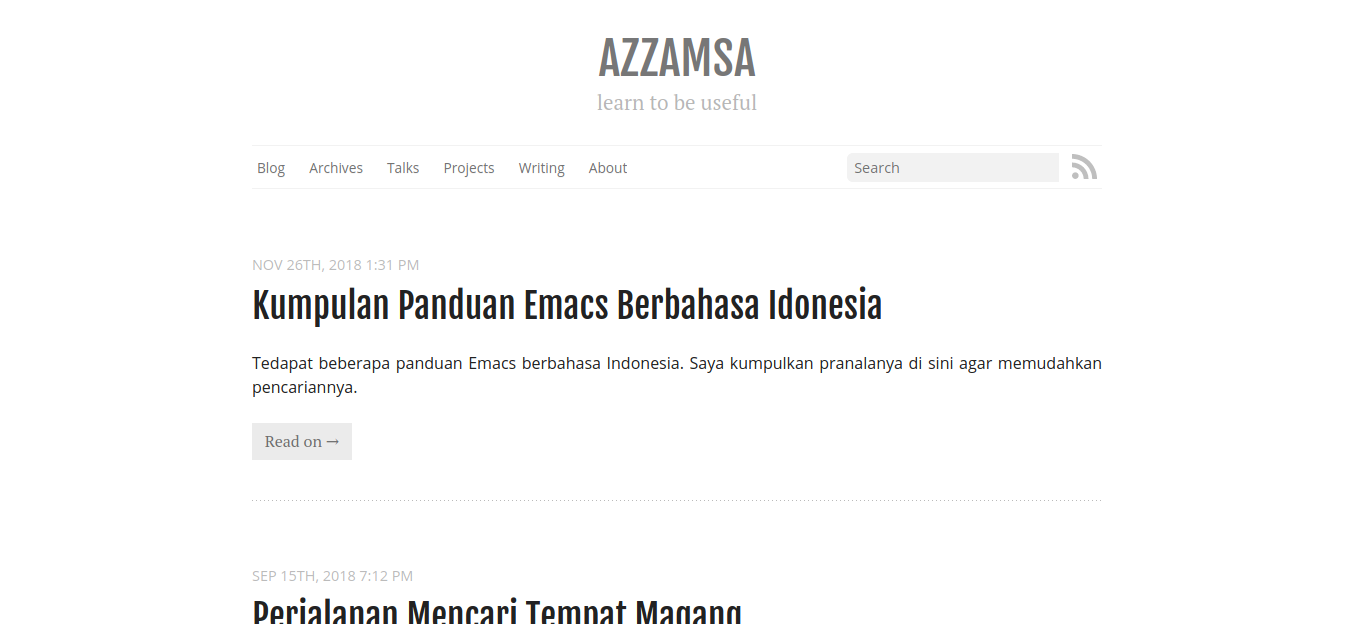
After becoming proficient in Python in 2018, I want to have full control of my daily tools. I don't even know how Octopress works. It's full of scripts that I never visited. So I switch to Pelican. Something I can understand more and better. Other than learning how it works, I don't need to worry if I need to extend the core functionalities.
I choose the Elegant theme and start modifying many of its functionality. I managed to report its bug, send patches, and collaborate with the team on a small scale. I am pretty happy with the result.
In the meantime, I start merging all my blog posts into one domain, blog.azzamsa.com (now azzamsa.com). Previously, I have code.azzamsa.com, life.azzamsa.com, and cs.azzamsa.com. I choose to use tags and categories to organize posts, rather than separate domains.
I've always wanted to pour many of my thought, history, findings, and experiment into an article. My Pelican blog post list starts getting cluttered with light notes mixed with deep essays. I start experimenting with a way to tell readers how to differentiate between my essays and my notes. At first, I put a star beside my essay title, then migrated to use the "Greatest Hits" / "Popular" page.
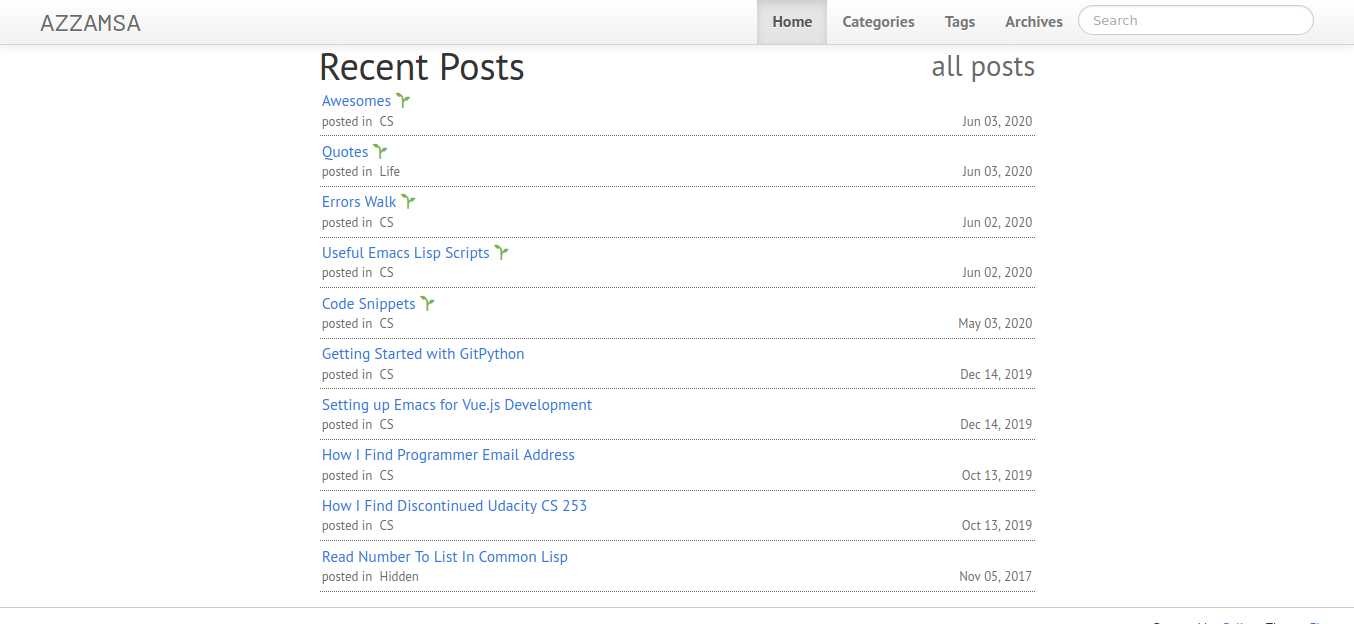
After a couple of months, I need a more simple theme. Elegant is huge. So I start writing my own. I build a pelican theme named Diego and start to organize the page hierarchy the way I wanted. It works with full of whacky hacks. Fighting the default setting of Pelican is hard. You can't even change the archive URL.
Hearing the hype about Eleventy, I try to check it out, wanted to know what it all about. It's so small, simple, and flexible. But I don't think porting my Pelican blog and all its functionality are worth it at that time.
One day I read the article by Max Böck. The idea of separating notes and essays in his menu bar caught my attention. This is the feature that I wanted so badly, but indeed I can't do that with Pelican. I never know that his blog was built with Eleventy. I didn't check the source code. But out of nowhere, I'm sure that I can do it with Eleventy. The simple and flexible tagline promise that I read a couple of weeks before.
Writing New Blog
It took me 4-5 weeks on and off building my new blog. I decided to use TailwindCSS, SASS, and Webpack with Laravel Mix as a base tool. It's my first time building a production-grade Javascript app. All the tools in my dependencies are totally new to me. It took 3-4 weeks porting core functionally, and additional 1-2 weeks for additional functionality. If I were familiar with those tools, it may take no more than two weeks or less.
After choosing all the tools, I visit popular programmers' blogs and take notes for feature inspiration. Not enough, I go to Github and see monthly trending JS and CSS devs, and search for "Popular UX designer you need to follow" articles.
In the end, I took design inspiration from 1) Dave Rupert, 2) Michael Rose (MadeMistakes), and 3) Sara Soueidan. For content inspiration, I see 1) Paul Graham, 2) Joel Hooks, and 3) Maggie Appleton.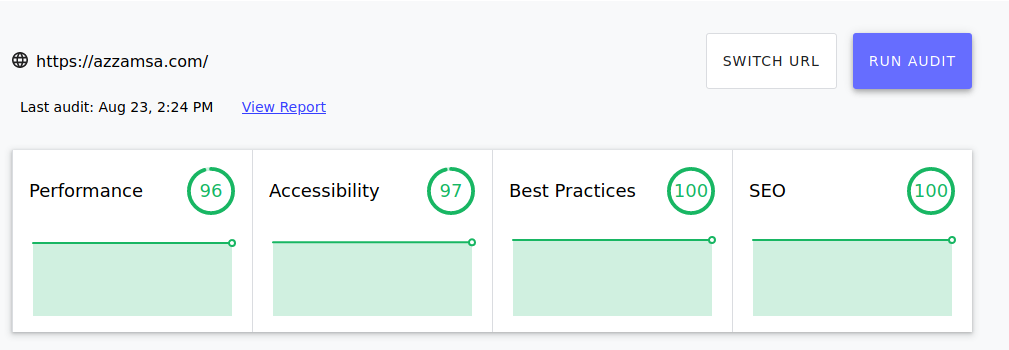
I decided to build a simple, fast, privacy-respecting blog. So I switch from Google Analytics to GoatCounter, Github Comment to Webmentions, and self-host all the images and fonts.
Features
Here are some features that may inspire you.
Related Posts
I love to encourage readers to read more. So I gather another post that has at least one tag with the current post.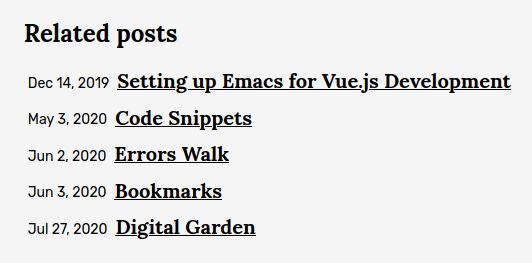
Show code
{% raw %}<!-- details omitted -->
{% set relatedPosts = collections.all | getRelatedPosts(tags, title) %}
{%- if relatedPosts | length != 0  -%}
    <h3>Related posts</h3>
    <ul>
        {% for post in relatedPosts %}
            <li>
                <a href="{{ post.url }}">
                    {{ post.data.title }}
                </a>
                <time datetime="{{ post.date }}">
                    {{ post.date | dateDisplay }}
                </time>
            </li>
        {% endfor %}
    </ul>
{%- endif -%}
{% endraw %}
/* eslint-disable no-labels, no-restricted-syntax */
// eslint rules disabled for history purpose

// details omitted
const _ = require('lodash')

removeDefaulttags = (tags) => {
  return _.filter(tags, (tag) => {
    if (!filteredTags.includes(tag))
      return tag
  })
}

getRelatedPosts: (collections, currentPostTags, currentPostTitle) => {
  const relatedPostsLimit = 5
  const postsSet = new Set()

  collections.forEach((post) => {
    if (!post.data.tags)
      return
    defaultTags = post.data.tags

    const postTagsNoDefault = removeDefaultTags(defaultTags)
    const currentPostTagsNoDefault = removeDefaultTags(currentPostTags)

    if (_.intersection(currentPostTagsNoDefault, postTagsNoDefault).length !== 0) {
      if (post.data.title !== currentPostTitle && post.data.related_post === true)
        postsSet.add(post)
    }
  })
  return _.slice([...postsSet], 0, relatedPostsLimit)
}
Language Choice
English is not a primary language for most of my friends and families. Some of my posts are written to answer their problems and questions. So I provided a language choice in my post archive.
Not all my Indonesian post has an English version, and vice-versa. So that instead of putting the link to the translated version on the top of the article, I put the link on the archive page.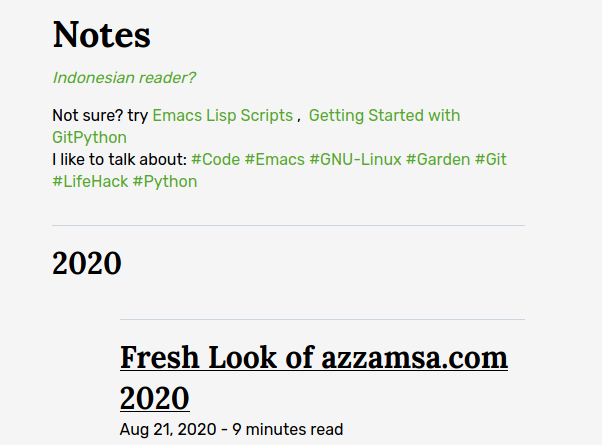
Show code
{% raw %}<!-- /site/essays.njk -->
    {% block intro %}
        {% if lang == "id" %}
            {% set hits_type = "e_id" %}
            {{ show_intro("id", "e", title, words.id) }}
        {% else %}
            {% set hits_type = "e" %}
            {{ show_intro("en", "e", title, words.en) }}
        {% endif %}
    {% endblock %}
{% endraw %}
{% raw %}<!-- /partials/archive.njk -->
    <p>
        {%- if locale == "en" -%}
            <a href="/{{ page_type }}/id/">
                Indonesian reader?
            </a>
        {%- else -%}
            <a href="/{{ page_type }}/">
                English reader?
            </a>
        {%- endif -%}
    </p>
{% endraw %}
// /globals/words.json
{
  "en": {
    "notSure": "Not sure? try",
    "talkAbout": "I like to talk about:"
  },
  "id": {
    "notSure": "Tidak Yakin? coba",
    "talkAbout": "Saya senang berbicara tentang:"
  }
}
Previously, in my Pelican blog, I use Babel to handle translation. But now I decide to use a simple key-value dictionary since I don't want to translate the whole app.
Short, Memorable URL
With the promise of simple, minimal, and flexible SSG. I can build my blog as far as I can imagine. I can change the page name however I want. This is not doable in Pelican. I choose to use /e for my essays, and /n for my notes.
{% raw %}description =  Essays collections
eleventyComputed:
  title =  "{{ 'Esai' if lang else 'Essays' }}"
permalink: e/{{ lang }}/index.html
pagination:
  data: langs
  size: 1
  alias: lang
langs:
  - null
  - id
{% endraw %}
English is the default, so any post written in it will have /awesome-post slug, otherwise /id/indonesian-article.
One Template, Multiple Outputs
I have posted under two different paths, essays, and notes. To avoid redundancy (same template with only a different header and title). I use Eleventy pagination.
Under /site I have essays.njk and notes.njk which contain only a couple of lines. It contains a call to the macro of show_intro for deciding the notes/essays header and the English/Indonesian language. On top of it, it extends the layout of archive.njk that is located in /partials.Show code
{% raw %}+++
layout: default
description =  Essays collections
body_class: blog
eleventyComputed:
  title =  "{{ 'Esai' if lang else 'Essays' }}"
permalink: e/{{ lang }}/index.html
pagination:
  data: langs
  size: 1
  alias: lang
langs:
  - null
  - id
+++


{% extends "partials/base-archive.njk" %}
<main id="content" class="content" tabindex="-1">
    {% from "partials/archives.njk" import show_intro %}
    {% from "partials/archives.njk" import show_archive %}

    {% block intro %}
        {% if lang == "id" %}
            {% set hits_type = "e_id" %}
            {{ show_intro("id", "e", title, words.id, collections.essayTagsID, hits[hits_type]) }}
        {% else %}
            {% set hits_type = "e" %}
            {{ show_intro("en", "e", title, words.en, collections.essayTags, hits[hits_type]) }}
        {% endif %}
    {% endblock %}

    {% block list %}
        {% if lang == "id" %}
            {{ show_archive(collections.essays_id) }}
        {% else %}
            {{ show_archive(collections.essays) }}
        {% endif %}
    {% endblock %}
</main>
{% endraw %}
It will generate all English article to /dist/e/ and Indonesian articles into /dist/e/id/.
Responsive Images (speed)
To pursue maximum speed. I serve responsive images. On most of the pages, this blog will serve completely different images based on the user's viewport.
Try to resize your window and watch the image shown below.
The demo above is using completely different images. Ideally, it uses the same image with different file sizes to save cellular data and improve load time. I use the script from Smashing Magazine to archive this.
function smartresize() {
   mogrify -path $3 -filter Triangle -define filter:support=2 -thumbnail $2 -unsharp 0.25x0.08+8.3+0.045 -dither None -posterize 136 -quality 82 -define jpeg:fancy-upsampling=off -define png:compression-filter=5 -define png:compression-level=9 -define png:compression-strategy=1 -define png:exclude-chunk=all -interlace none -colorspace sRGB $1
}

# example usage
$ smartresize menu-bar.png 300 foo/
Font Config (speed)
I want to keep my blog simple, but not boring. I use multiple fonts, serif for the title, and sans for the rest. Previously I use 5 fonts: 1) Lora-700, 2) Rubik-300, 3) Rubik-regular, 4) Rubik-500, and 5) Rubik-700. This is too much for a blog. I search for solutions and founds out that there is something called font-variable.
The font-variable from the Rubik Google repo doesn't work as expected. It has strange width, too bold. So I took the TypeNetwork fork that Dave Rupert points me out. It's a TTF version, so I use font-ranger to subset and convert it to woff2.
$ npx font-ranger -f Rubik\[wght\].ttf -u latin
Now, instead of 5 fonts, I only had 2 fonts: 1) lora-700, and 2) rubik font-variable.
--
Other than eliminating fonts files, using web-font, and subsetting it. I use font-display: swap;. The user will not see the blank page at the start anymore.
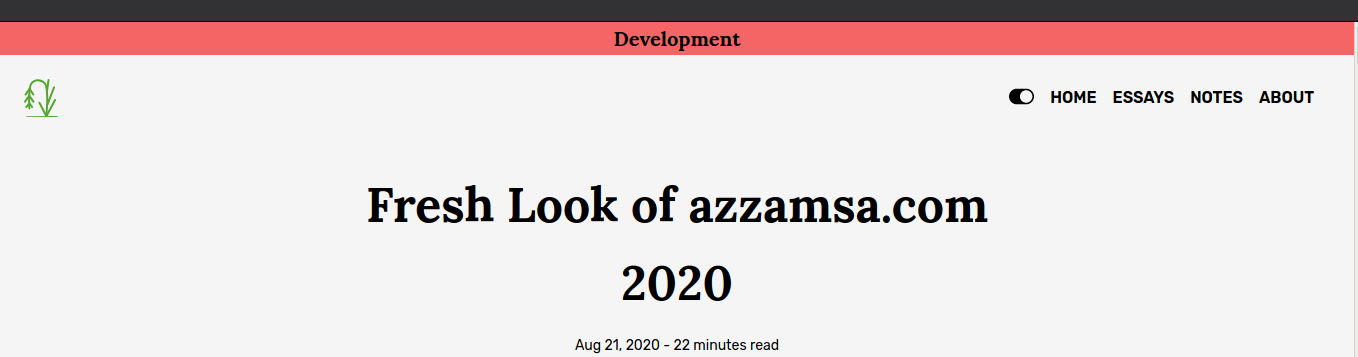
Development Banner
Sometimes we can't spot the differences between working on a development version or a production one. So I show this banner in my blog.
Show code
{% raw %}<!-- /layout/default.njk -->
    {% if helpers.environment === "production" %}
        {# use the minified css file for production #}
        <link rel="stylesheet" href="/styles/main.min.css">
    {% else %}
        <link rel="stylesheet" href="/styles/main.css">
        {% include "partials/development-status.njk" %}
    {% endif %}
{% endraw %}
<!-- /partials/development-status.njk -->
<header id="header">
    <h4 class="text-center bg-red-500">Development</h4>
</header>
Theme Toggle
I love to read in the dark-mode, and I believe the same thing for many readers.Show code
// tailwind.config.js
module.exports = {
  theme: {
    extend: {
      textColor: {
        'primary': 'var(--color-text-primary)',
        'secondary': 'var(--color-text-secondary)',
        'inverse': 'var(--color-text-inverse)',
        'inverse-soft': 'var(--color-text-inverse-soft)',
      },
      backgroundColor: {
        'primary': 'var(--color-bg-primary)',
        'primary-soft': 'var(--color-bg-primary-soft)',
        'secondary': 'var(--color-bg-secondary)',
        'default': 'var(--color-bg-default)',
        'inverse': 'var(--color-bg-inverse)',
        'inverse-soft': 'var(--color-bg-inverse-soft)',
      },
    }
  }
}
// partials/_themes.scss
.theme-light {
  --color-bg-primary: #{$aza-primary};
  --color-bg-primary-soft: #{$aza-primary-soft};
  --color-bg-secondary: #{$aza-secondary};
  --color-bg-inverse: whiteSmoke;
  --color-bg-inverse-soft: #e2e8f0;
const themeToggle = (function themeToggle() {
  const docElement = document.documentElement
  const toggleButtons = document.querySelectorAll('.theme-btn')
  const storage = localStorage.getItem('theme')

  if (storage === 'dark')
    docElement.classList.add('theme-dark')

  if (storage === 'light')
    docElement.classList.add('theme-light')

  if (storage == null)
    docElement.classList.add('theme-light')

  const setDarkTheme = function setDarkTheme() {
    docElement.classList.remove('theme-light')
    localStorage.removeItem('theme')

    docElement.classList.add('theme-dark')
    localStorage.setItem('theme', 'dark')
  }

  const setLightTheme = function setLightTheme() {
    docElement.classList.remove('theme-dark')
    localStorage.removeItem('theme')

    docElement.classList.add('theme-light')
    localStorage.setItem('theme', 'light')
  }

  // for (const button in toggleButtons) {
  // loop here always produces "addEventListener is not a function"
  // even if it's works just fine
  toggleButtons[0].addEventListener('click', () => {
    if (docElement.classList.contains('theme-dark'))
      setLightTheme()
    else
      setDarkTheme()
  })
  toggleButtons[1].addEventListener('click', () => {
    if (docElement.classList.contains('theme-dark'))
      setLightTheme()
    else
      setDarkTheme()
  })
  // }

  // detect browser theme
  if (window.matchMedia && window.matchMedia('(prefers-color-scheme: dark)').matches) {
    if (storage == null)
      setDarkTheme()
  }
})()

export default themeToggle
Copy Code Block
Some of my blog posts is tutorial that contains a lot of code. It will be easy for my reader to just click a button and have the formatted code in their clipboard. The code below is inspired by my previous Elegant theme.Show code
const ClipboardJS = require('clipboard')

const copyClipboard = (function copyClipboard() {
  // Get all pre. But ignore line numbers section
  const snippets = document.querySelectorAll('div pre')

  snippets.forEach((snippet) => {
    const parent = snippet.parentNode
    const wrapper = document.createElement('div')

    // Wrap code inside div.codecopy
    wrapper.classList.add('codecopy')
    parent.replaceChild(wrapper, snippet)
    wrapper.appendChild(snippet)

    // Create button
    const button = document.createElement('button')
    button.title = 'Copy to clipboard'
    button.className = 'codecopy-btn'
    button.type = 'button'
    button.setAttribute('aria-label', 'Copy to clipboard')

    // image
    const img = document.createElement('img')
    img.className = 'codecopy-icon'
    img.setAttribute('src', '/images/icons/clipboard.svg')
    img.setAttribute('alt', 'Copy')
    button.appendChild(img)

    // tooltip
    const tip = document.createElement('span')
    tip.className = 'codecopy-tooltip'
    tip.innerHTML = 'Copy'
    button.appendChild(tip)

    // Add button to div.codecopy
    // wrapper.insertBefore(tip, snippet)
    wrapper.insertBefore(button, snippet)
  })

  // Add copy to clipboard functionality
  const clipboard = new ClipboardJS('.codecopy-btn', {
    target: (trigger) => {
      return trigger.parentNode
    },
  })

  // Show message on success
  clipboard.on('success', (e) => {
    e.trigger.setAttribute('aria-label', 'Copied!')

    const img = e.trigger.childNodes[0]
    const tip = e.trigger.childNodes[1]
    img.setAttribute('src', '/images/icons/check-all.svg')
    tip.innerHTML = 'Copied!'
    e.clearSelection()

    // Reset button text
    setTimeout(() => {
      e.trigger.setAttribute('aria-label', 'Copy to clipboard')
      img.setAttribute('src', '/images/icons/clipboard.svg')
      img.setAttribute('alt', 'Copy')
      tip.innerHTML = 'Copy'
    }, 400)
  })
})()

export default copyClipboard
Hidden Anchor
The anchor beside a heading is cluttering. I customize the theme to show only when reader hover the title.Show code
%heading-anchor {
    &:hover a {
        @apply text-inverse-soft;
    }
    a {
        @apply text-transparent;
        &:hover {
            @apply text-inverse-soft;
        }
    }
}

h1 {
    @extend %heading-anchor;
}
Reading Time in Archive and Post
I put the reading time in the post archive and post page. This feature will enable readers to choose which post they can read based on their free time.
{% raw %}<!-- /layuots/posts.njk -->
{% set reading_time = content | getReadingTime %}
{% endraw %}
{% raw %}<!-- /partials/archives.njk -->
{% set reading_time = post.templateContent | getReadingTime %}
{% endraw %}
While writing this post, I copied many of my sources without omitting the details. This is done because even though my site is GPL licensed, I prefer to make the SourceHut repository private. The blog color scheme and design are attached to our brand. You can tell the name by just looking at the thumbnail. There are many occasions where lazy programmers just copy the source code as is happening lately.
By not omitting the code details, the reading time goes skyrocketing. So I add a new feature to exclude the details tag in reading time. I have other pages that use details tag too. So this is a huge win for me.Show code
-  getReadingTime: text => {
+  getReadingTime: (html, isDetailsTagIncluded = true) => {
+    let fragment = JSDOM.fragment(html)
+    if (!isDetailsTagIncluded) {
+      let matchTags = fragment.querySelectorAll("details")
+      for (const tag of matchTags) {
+        tag.remove()
+      }
+    }
+
     const wordsPerMinute = 200
-    const numberOfWords = text.split(/\s/g).length
+    const words = fragment.textContent
+    const numberOfWords = words.split(/\s/g).length
     return Math.ceil(numberOfWords / wordsPerMinute)
   },
   getRelatedPosts: (collections, currentPostTags, currentPostTitle) => {
Webmention
The first time I start blogging, I use Disqus. It's proprietary and does many bad things to readers' data. Later I switched to utterances. Sadly it relies on Github which also a proprietary app. So for this blog, I decided to try completely new distributed and libre solutions. Welcome, Webmentions!
It's not easy as embedding Disqus or Utterances to your blog. But there are plenty of tutorials and boilerplates for you to start with. I follow Sia's in-depth Webmention tutorial and play around with his open-source blog. Max's Webmention boilerplate Webmention boilerplate is also worth mentioning.
What to Read First
Inspired by Paul Graham's blog. I put an article recommendation on the top of the post archive.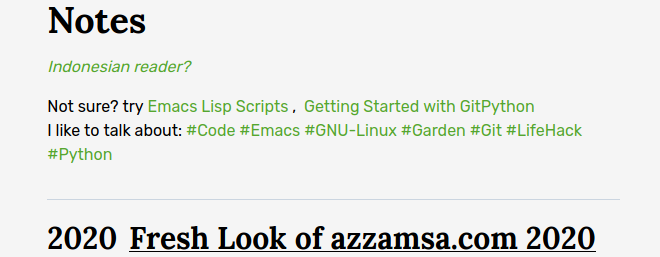
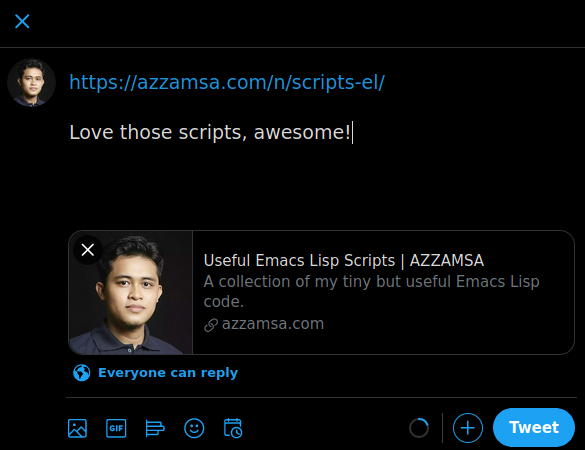
Dynamic Twitter Card
I don't hard-code the Twitter card style. I can set it in the front-matter of I want to change the default.
{% raw %}<meta name="twitter:card" content="{% if twitter_card %}{{ twitter_card }}{% else %}summary{% endif %}">
{% endraw %}
TOC
I've tried some TOC plugins, but eleventy-plugin-nesting-toc works great for me.
Photo Galleries
I put the photos link on my talks page. To show them well I created a "photo gallery" using the HTML grid. There I use responsive images to achieve good speed.
Microformat
In my resume page, I use Microformat. I love to see it adopted widely, so we can share information in open standard formats. Inspired by Zach Leatherman's resume, the author of Eleventy!
Other Features
There are other features that I don't develop myself. Such as adding class=lazy to every img tag, and a bottom menu-bar for a small display. All these features is included in Skeleventy. It's a nice boilerplate to start with Eleventy if you TailwindCSS and SASS. There are some decisions that I took differently from the author, such as code structure, excluding CSS and JS build asset, and removing unnecessary elements in TailwindCSS config.
Notes
As I told you, this is my first time building a web application that is heavy on the front-end side. All the tools are completely new to me, but I can quickly adapt by reading their docs and answers online.
I heard a lot of bad news about JS. I'm still new to know those holes, so I try to follow the code-style of others. I don't know why I like Python-like syntax even before I learn Python. The first time I learn a JS course was in 2016 at CodeAcademy, those curly braces, and semi-colon is not my cup of tea. Thankfully now I can get rid of the semi-colons and I can use cleaner for-loop with for of and for in. Other than that, a library like Lodash helps a JS beginner a lot.
The strange thing I can't think of is when writing a CSS. I've built two landing pages with pure CSS and the other one with Bootstrap. Even if I had taken the HTML/CSS course in CodeAcademy, I still use a search engine to find everything I need. Yes, literally everything. Such as how to center elements, how to make such a layout, etc. If the layout is complex, I used to copy-paste the examples from the internet and then modify them until it suits my need. I commit every change because I don't have any idea what I am doing.
That case is completely turned upside down now. I don't afraid to start any layout from scratch. For complex layouts, I always go with the grid. I don't use a search engine anymore to move things around, since I know grid and flexbox. It's so strange that after I read the flexbox and grid tutorial. All those fears are gone. Is these the two fundamental key to learn CSS?. If so, I deeply regret not learning it in those days.
TailwindCSS also speeds the process, I don't need to try 1) every number for margin/padding value, 2) every color, and 3) every style. I rarely need custom value. The most helpful thing for me is its docs. The docs contain examples in every section, so I can easily grasp them. I don't try to remember the class names. I use nerdcave cheatsheet hundreds of times a day. Sadly, it's proprietary.
That's all, hope this inspires your current or next blog.